
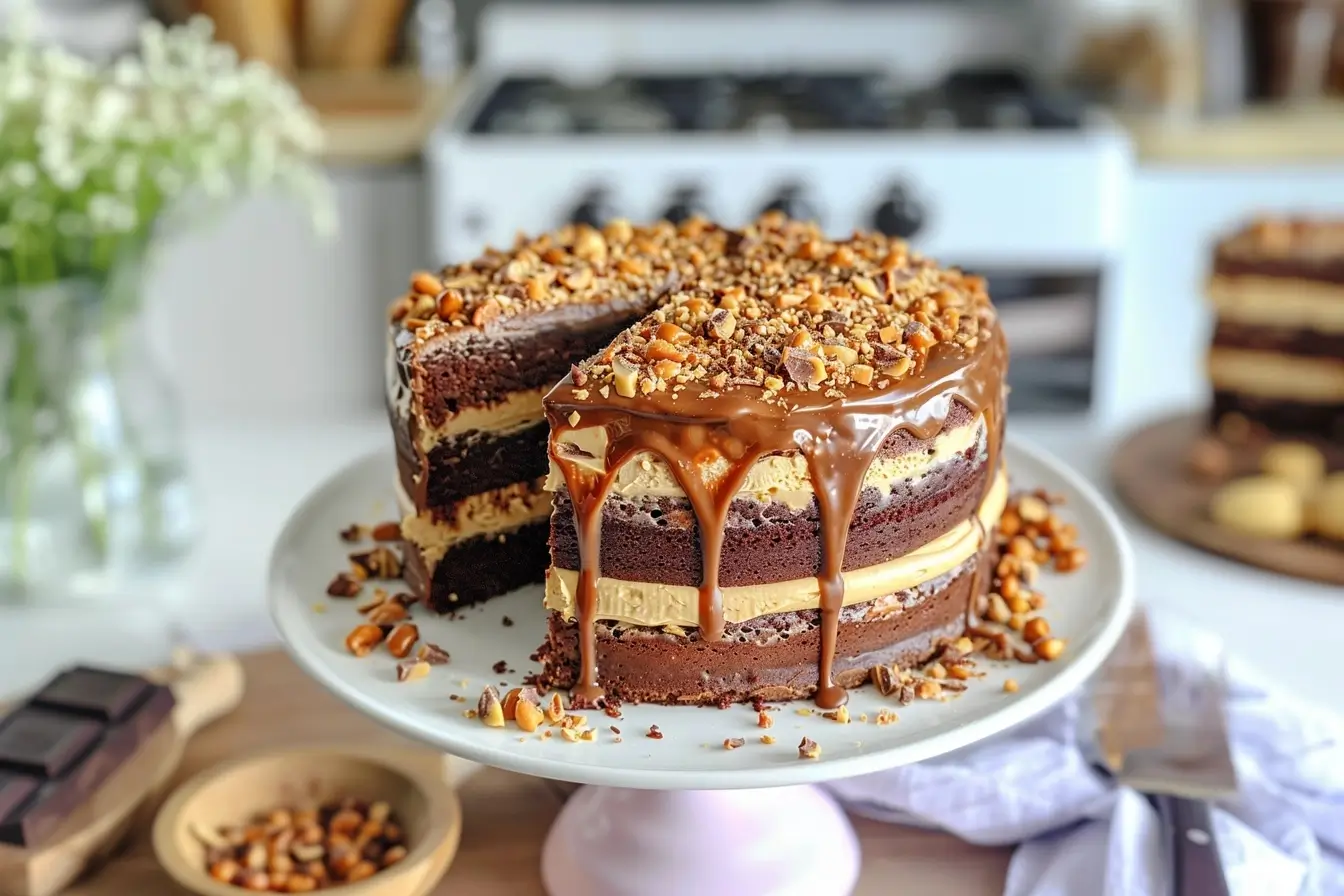
If you’re a fan of indulgent, mouth-watering desserts, this Chocolate Peanut Butter Salted Caramel Toffee Cake is a must-try! It’s a decadent treat combining rich chocolate cake with creamy peanut butter, a hint of salted caramel, and crunchy toffee bits. Perfect for special occasions or when you simply want to impress your guests, this cake is as delicious as it is stunning. Each bite is a harmonious blend of sweet, salty, and nutty flavors that will leave everyone asking for seconds.
Ingredients:
- 2 boxes devil’s food cake mix (prepared according to box directions)
- 2 (8-ounce) packages cream cheese
- 1 stick butter, room temperature
- 1 cup peanut butter
- 3 cups powdered sugar
- 1 teaspoon vanilla extract
- 3 tablespoons milk
- 2 cups chocolate-covered toffee pieces, divided (Heath toffee bits recommended)
- Salted caramel ice cream topping for drizzle
Directions:
Step 1: Preheat your oven according to the cake mix package directions. Grease two 10-inch cake pans.
Step 2: Prepare the cake mix batter as directed on the package and divide it evenly between the two prepared pans.
Step 3: Bake the cakes according to the package instructions. Once baked, remove them from the oven and let them cool completely on a wire rack.
Step 4: While the cakes are cooling, prepare the frosting. In a large bowl, mix together the cream cheese, butter, and peanut butter until smooth and creamy.
Step 5: Gradually add the powdered sugar to the mixture, beating continuously until fully incorporated. Add the vanilla extract and milk, mixing until you achieve a smooth, spreadable consistency.
Step 6: Stir in one cup of the chocolate-covered toffee bits into the peanut butter cream cheese mixture.
Step 7: Once the cakes are completely cooled, place one layer on a serving plate. Spread the peanut butter cream cheese mixture evenly over the top.
Step 8: Place the second cake layer on top of the first. Use the remaining frosting to cover the top and sides of the cake.
Step 9: Sprinkle the remaining toffee bits over the top and sides of the cake as desired.
Step 10: Drizzle the salted caramel ice cream topping generously over the cake.
Step 11: Refrigerate the cake for at least 1 hour before serving to allow the flavors to meld and the frosting to set.
Serving and Storage Tips:
- Serving: For the best experience, serve this cake slightly chilled. The contrast between the cold cream cheese frosting and the rich chocolate cake makes each bite irresistible.
- Storage: Store any leftovers in an airtight container in the refrigerator. This cake can last up to 4 days if properly stored.
Helpful Notes:
- Make sure the cakes are fully cooled before frosting to prevent the cream cheese mixture from melting.
- You can substitute the salted caramel topping with homemade caramel if you prefer a richer, more personalized flavor.
- For a more intense peanut butter flavor, consider adding an extra ½ cup of peanut butter to the frosting mixture.
Tips from Well-Known Chefs:
- Chef Ina Garten: Always use room temperature ingredients for your frosting. It makes mixing easier and results in a smoother texture.
- Chef Martha Stewart: For a richer cake, try adding a tablespoon of espresso powder to the cake batter. It enhances the chocolate flavor without making the cake taste like coffee.
FAQ Section:
1. Can I use a different cake mix flavor? Yes, you can experiment with other flavors like vanilla or caramel, but the devil’s food cake provides a rich chocolatey base that complements the peanut butter and toffee.
2. Can I make the cake in advance? Absolutely! This cake can be made a day ahead and stored in the refrigerator. Just be sure to cover it tightly to prevent it from drying out.
3. What if I don’t have a 10-inch cake pan? You can use 9-inch pans instead, but be sure to adjust the baking time as needed. The cakes may need a few extra minutes in the oven.
4. Can I use crunchy peanut butter instead of creamy? Yes, crunchy peanut butter will add extra texture to the frosting, which some may enjoy.
5. How do I prevent the cake from sticking to the pan? Grease your cake pans thoroughly and consider lining them with parchment paper for easy removal.
6. Can I freeze the cake? Yes, the cake can be frozen, but it’s best to do so before frosting. Wrap the cake layers individually in plastic wrap and aluminum foil before freezing.
7. What can I use instead of toffee bits? Chopped nuts or crushed pretzels can be great alternatives if you don’t have toffee bits on hand.
8. How long should I let the cake cool before frosting? Let the cake cool completely, which typically takes about 1 hour, to ensure the frosting doesn’t melt.
9. Can I add more layers to the cake? Yes, you can split the cake layers further to create a taller cake, but you’ll need more frosting to cover the additional layers.
10. Is it necessary to refrigerate the cake? Yes, because the frosting contains cream cheese, it’s important to refrigerate the cake to keep it fresh.