
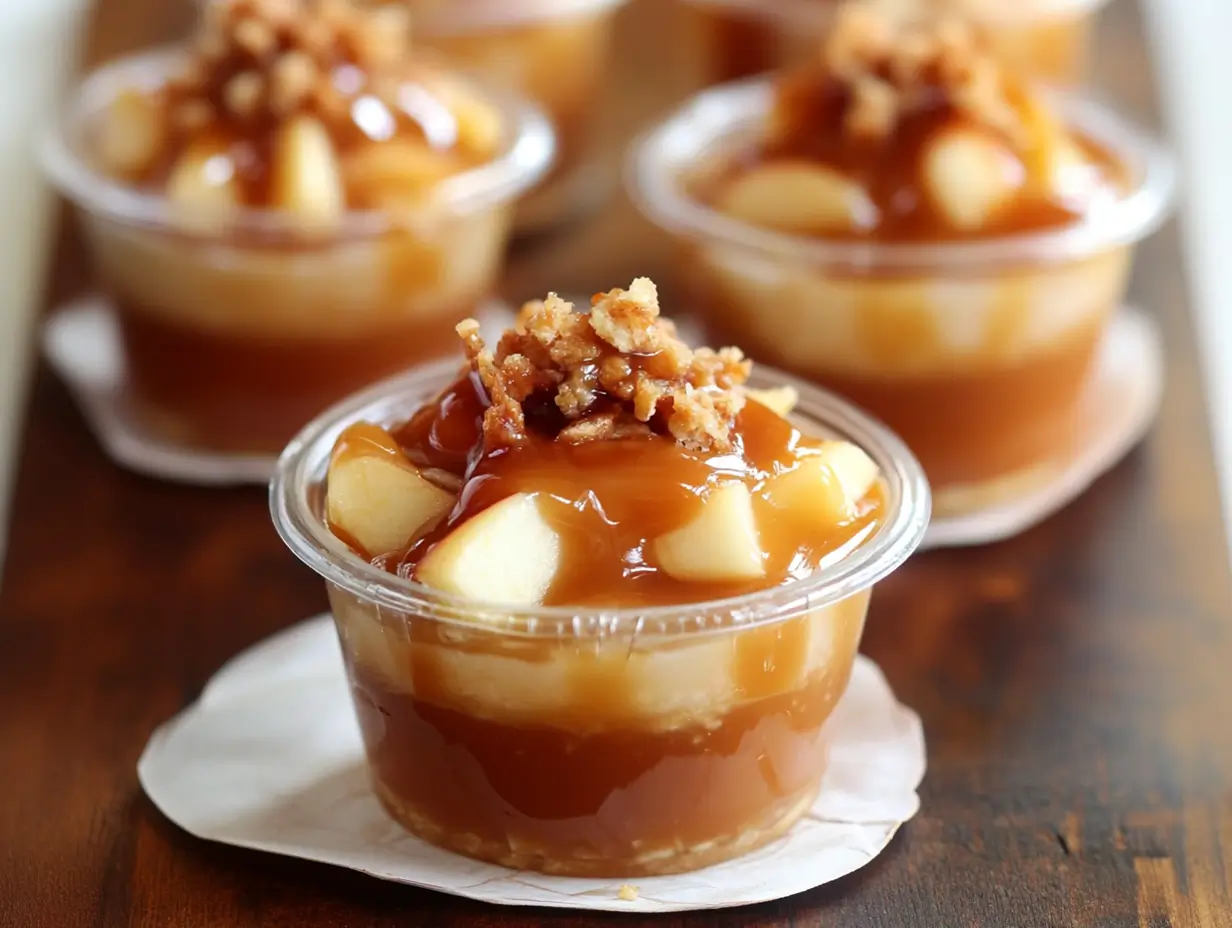
As the crisp autumn air sets in and the leaves begin to change, there’s no better way to celebrate the season than with a sweet and comforting dessert that brings together the rich flavors of caramel, cinnamon, and apples. These Caramel Apple Dessert Cups are a perfect bite-sized indulgence that will surely become a favorite at your fall gatherings. Whether you’re hosting a party, bringing a treat to a potluck, or simply craving a cozy dessert at home, these cups are easy to make, incredibly delicious, and sure to impress. Plus, with their individual servings, they are convenient and mess-free, making them ideal for any occasion.
Ingredients You’ll Need
For the Cinnamon Apples:
- 4 cups apples, peeled and chopped
- ½ cup light brown sugar
- 1 teaspoon ground cinnamon
For the Caramel Apple Dessert Cups:
- 2 cups vanilla wafer crumbs
- ¼ cup salted or unsalted butter, melted
- 1 package instant vanilla pudding mix (3.4 ounces)
- 1 cup milk
- ⅓ cup salted caramel sauce (homemade or store-bought)
- 1 ½ cups heavy cream
- Additional caramel sauce for garnish
Step-by-Step Directions
Step 1: Prepare the Cinnamon Apples
- Combine Ingredients: In a medium saucepan, combine the peeled and chopped apples, light brown sugar, and ground cinnamon.
- Cook: Stir the mixture and cook over medium heat. Continue to cook until the apples are soft and the liquid has thickened, which should take about 8-10 minutes.
- Cool: Once cooked, set the mixture aside to cool completely before assembling the dessert cups.
Step 2: Make the Vanilla Wafer Crust
- Mix Crumbs and Butter: In a mixing bowl, combine the vanilla wafer crumbs and melted butter. Stir until the crumbs are fully coated with the butter and the mixture resembles wet sand.
- Portion Crust: Using a small cookie scoop, portion the vanilla wafer crumb mixture into 28 2-ounce plastic cups. This ensures even distribution and consistent servings.
- Press Down: Use the back of a plastic cup or the bottom of a glass to press the crumbs down firmly, creating a solid crust at the bottom of each cup.
Step 3: Prepare the Salted Caramel Mousse
- Make Pudding: In a large mixing bowl, combine the instant vanilla pudding mix and milk. Whisk together until smooth. Chill the mixture in the refrigerator for 5 minutes to allow it to thicken.
- Add Caramel: Once the pudding has set, add the salted caramel sauce. Use an electric hand mixer on medium speed to blend until smooth.
- Whip Cream: Pour in the heavy cream and continue to whip the mixture for 3-5 minutes until it becomes thick and creamy.
- Transfer to Piping Bag: Transfer the caramel mousse mixture to a large piping bag to make assembly easier and more precise.
Step 4: Assemble the Dessert Cups
- Pipe Mousse: Pipe a layer of the caramel mousse into each plastic cup, directly on top of the vanilla wafer crust.
- Add Apples: Using a spoon, portion the cooled cinnamon apples over the caramel mousse in each cup, distributing them evenly.
- Garnish: Drizzle with additional caramel sauce if desired for an extra touch of sweetness and visual appeal.
Step 5: Chill and Serve
- Seal Cups: Seal the cups with lids if you are preparing them in advance.
- Chill: Place the dessert cups in the refrigerator to chill. They can be served immediately or stored in the refrigerator for 2 to 3 days.
- Serve: When ready to serve, you can add an extra drizzle of caramel sauce on top for a final flourish.
Serving and Storage Tips
- Serving: These Caramel Apple Dessert Cups are best served chilled, straight from the refrigerator. They make an excellent individual dessert for parties or gatherings.
- Storage: If you have leftovers, you can store the cups in the refrigerator for up to 3 days. Make sure they are tightly sealed to prevent the mousse from absorbing any odors from the fridge.
- Make Ahead: This recipe is perfect for making ahead of time. Prepare the dessert cups a day in advance and store them in the fridge until ready to serve.
Helpful Notes
- Apple Variety: Choose a variety of apples that hold up well to cooking, such as Granny Smith, Honeycrisp, or Fuji. These types of apples will provide the perfect balance of tartness and sweetness, and they won’t turn mushy during cooking.
- Caramel Sauce: You can use store-bought caramel sauce to save time, but if you have the opportunity, making your own salted caramel sauce adds a delicious homemade touch to the dessert.
- Crust Options: If you don’t have vanilla wafers on hand, graham cracker crumbs or crushed shortbread cookies also work beautifully as the base for these dessert cups.
- Piping Bag Substitute: If you don’t have a piping bag, you can use a zip-top plastic bag with one corner snipped off to pipe the mousse into the cups.
Tips from Well-Known Chefs
- Presentation Tip: Chef Ina Garten suggests garnishing the dessert cups with a thin slice of fresh apple on top of the caramel drizzle for a touch of elegance and a hint of fresh flavor.
- Flavor Boost: Chef Bobby Flay recommends adding a pinch of sea salt to the caramel sauce to enhance the sweet and salty flavor profile, making the dessert even more irresistible.
- Texture Tip: Chef Alton Brown advises incorporating a crunchy element, such as toasted pecans or a sprinkle of coarse sugar, on top of the cinnamon apples for an added layer of texture.
Frequently Asked Questions
1. Can I use a different type of cookie for the crust?
Yes, you can use graham cracker crumbs, crushed shortbread cookies, or even gingersnaps for a different flavor profile.
2. What type of apples work best for this recipe?
Granny Smith, Honeycrisp, or Fuji apples are ideal because they hold their shape during cooking and provide a balanced tartness.
3. Can I make the caramel sauce at home?
Absolutely! Homemade salted caramel sauce adds a special touch to the dessert, but store-bought works well too.
4. How long do these dessert cups last in the refrigerator?
These cups can be stored in the refrigerator for up to 3 days. Make sure they are tightly sealed to keep them fresh.
5. Can I freeze the dessert cups?
Freezing is not recommended as the texture of the mousse may change upon thawing.
6. Can I add nuts to the dessert cups?
Yes, you can add chopped toasted pecans or walnuts to the cinnamon apple layer for added crunch and flavor.
7. What if I don’t have a piping bag?
You can use a zip-top plastic bag with a small corner cut off to pipe the mousse into the cups.
8. Can I make these dessert cups dairy-free?
Yes, you can substitute the butter with a dairy-free alternative and use a non-dairy whipped topping in place of heavy cream.
9. How can I make this recipe gluten-free?
Use gluten-free vanilla wafers or cookies for the crust to make the entire dessert gluten-free.
10. Can I double the recipe for a larger crowd?
Yes, this recipe can easily be doubled or even tripled to accommodate larger gatherings. Just adjust the ingredients accordingly.
These Caramel Apple Dessert Cups are the perfect treat to celebrate the flavors of fall. With their rich layers of cinnamon apples, caramel mousse, and a crunchy vanilla wafer crust, they’re sure to delight anyone who takes a bite. Whether you’re making them for a party or enjoying them as a cozy dessert at home, these cups are an easy and delicious way to bring the taste of autumn to your table. Enjoy!